Are you facing problems when adding an HTML template to your Django project?
When creating a Django application, one of the crucial aspects of web development is incorporating HTML templates. Django allows for the creation of dynamic web pages through the use of templates. Templates are pre-designed HTML files that can be populated with dynamic content to create a finished web page. In this blog post, we will explore how to use HTML templates in your Django application.
Related: How to Create Hello World Website App in Django.
The template in Django is an HTML webpage that contains static part like tags, styles, and images that never changes. We can override these static contents with dynamic contents passed by Django views which produce the final HTML web page.
Step 1: Create a Template Directory
- To store all our HTML templates, we need to create a directory. Under your app directory mysite, create a new directory called templates. Inside this newly created templates directory, create another directory with the same name as your app, mysite.
- Once both directories are created, the path should be hello_world/mysite/templates/mysite.
- However, just creating these directories is not enough. Django needs to be informed of the newly created template directory.
- To accomplish this, open the hello_world/settings.py file and locate the code block named TEMPLATES. Inside this block, you will find a blank list for ‘DIRS’: [].
- Add BASE_DIR / ‘templates’ inside square brackets. The final code will look like this:
TEMPLATES = [
    {
        'BACKEND': 'django.template.backends.django.DjangoTemplates',
        'DIRS': [BASE_DIR / 'templates'],    # Add this line
        'APP_DIRS': True,
        'OPTIONS': {
            'context_processors': [
                'django.template.context_processors.debug',
                'django.template.context_processors.request',
                'django.contrib.auth.context_processors.auth',
                'django.contrib.messages.context_processors.messages',
            ],
        },
    },
]
- Note that this project utilizes Django version 4.x. In the previous versions, it was necessary to create a variable named TEMPLATE_DIR and assign it the value os.path.join(BASE_DIR, ‘templates’). Then, this newly created variable had to be added to the DIRS list as ‘DIRS’: [TEMPLATE_DIR].
Step 2: Create a New HTML Template File
- Under hello_world\mysite\templates\mysite, create a new file with the name index.html and add the following HTML code.
<html>
    <head>
        <title>Hello Django</title>
    </head>

    <body>
        <h1>Hello from <i>{{ user_message }}</i>.</h1>
    </body>
</html>
- You can notice the strange non-HTML entry {{ user_message }} in the above code. This is the Django template variable. The value of this variable is passed from Django View then replace and render to the final HTML page.
Step 3: Update View to Use the Template
- Open the file mysite/views.py from your app folder. Add code from django.shortcuts import render at top of the file.
- Now update the index() view function as shown below. The final code will look like this:
from django.shortcuts import HttpResponse
from django.shortcuts import render

def index(request):
    my_message = {'user_message': "Kushal Study"}
    return render(request, "mysite/index.html", context=my_message)
- In the above code, the user_message is a dictionary passed to the template engine as its context. Note that the key user_message is the same as {{ user_message }} in the template.
- The code return render returns a rendered response send to the client.
- Note: You can remove from django.shortcuts import HttpResponse because we don’t need it now.
Step 4: Run the Application
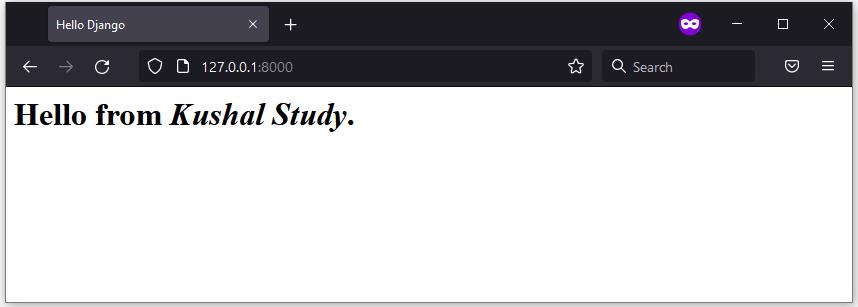
- Everything is done! Now you can run the application with python manage.py runserver command.
- Open URL http://127.0.0.1:8000/, you can see the below web page in your browser.